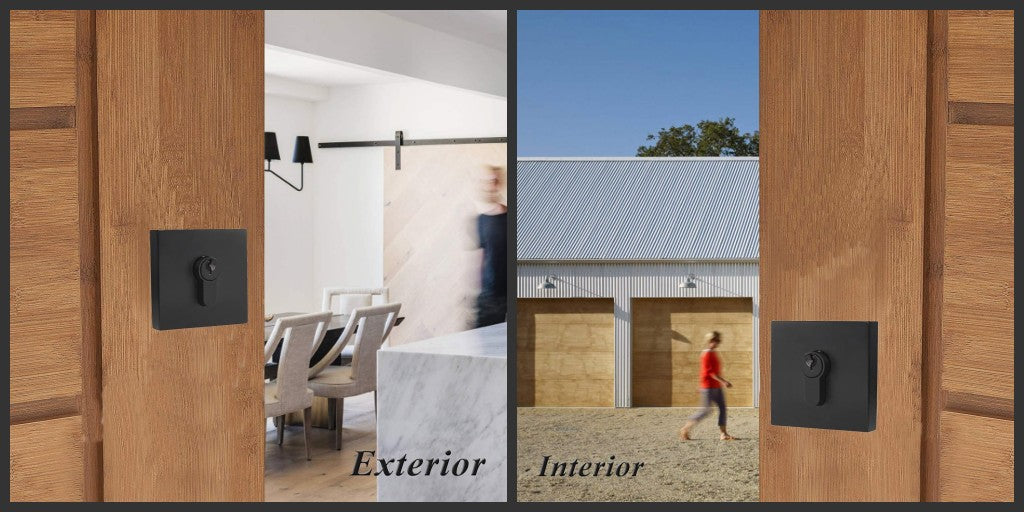
Better instructions for a probico square deadbolt – DL01ET
This blog will teach you how to install a square deadbolt. Total 5 steps, easy and quickly. Before installation, you need to prepare the tools, include measuring tape, 1" hole boring Blt, 2 1/2" hole boring saw. If you need to replace your old deabolt, pls prepare one Phillips Screw. And pls check the package you got, it should include:
Deadbolt Exterior*1PCS
Deadbolt Interior*1PCS
Adjustable Latch*1PCS
Plastic cover*1PCS
Strikes Plate*1PCS
Short screws: ST4*20mm*4PCS
Long screws: M4*35mm*2PCS
Allen wrench*1PCS
Key*3PCS
Installation Instruction*1PCS.

Now, you can start your installation.
1. Check Dimension
Note: The figures are provided for reference only. These are recommended MINIMUM values. The tolerance should be less than 2mm.

Measure the distance from the center of the door's edge to the center of the hole for the doorknob or deadbolt. This measurement should be the same as the "backset" of the new deadbolt.
Measure the thickness of the door to ensure it matches the "throw" of the deadbolt, which is the distance the deadbolt extends into the door frame.
2.Adjust the Latch
The latch is initially set for (60mm). Switch to (70mm),
if your backset is 70mm.Rotate it and pull it to the right to switch.

3.Install Latch and Striking Plate
Ensure 'UP' is up and keep bolt retracted in the following steps.


4.Install Exterior Lock
Insert the spindle into the latch.


5. Install Interior Lock
a.Using the tool to disassemble the screws.


Now, you have finished the installation.
